I had all sorts of ideas for an ATC with a quote on it. then I sorted through my quote stamps, and found that almost all of them were too big to put on an ATC. I was short of time, so decided to go with this quote. I felt it needed an organic looking background, so out came the citrasolv & national geographic paper again... I used Stewart Superior India Ink to stamp the quote, and added a punched blackbird that somebody sent me as a gift. I wish I knew where I could get the punch - or is it a die cut?
Sunday, 27 January 2008
Paris tip in page
I have decided to join a monthly 'tip in' page swap,
hosted by Sweetpea on CC Swaps yahoo group,
to build up a chunky book with lots of different themes.
January's theme was Paris....
hosted by Sweetpea on CC Swaps yahoo group,
to build up a chunky book with lots of different themes.
January's theme was Paris....
The background is the 'citrasolv & national geographic paper'
I have mentioned elsewhere in this blog,
with layered stamped and printed images on top.
I have mentioned elsewhere in this blog,
with layered stamped and printed images on top.
The back of the page uses the same paper,
stamped with fleur des lys
layered with eiffel tower images.
stamped with fleur des lys
layered with eiffel tower images.
Friday, 25 January 2008
Photoshop brushes
Monday, 21 January 2008
Where will it all end?
Sunday, 20 January 2008
Yes, I'm like a child with a new toy!!!
I'm not sure I really know what I am doing,
but it is getting easier with each collage.
It is such fun to put together elements of the
photographs I have been taking over the last
few months - my subconscious must have known
I would need the images sooner or later!
but it is getting easier with each collage.
It is such fun to put together elements of the
photographs I have been taking over the last
few months - my subconscious must have known
I would need the images sooner or later!
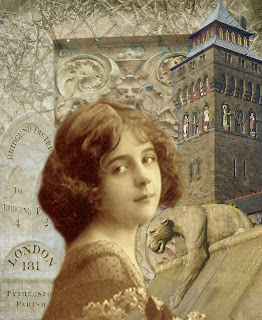
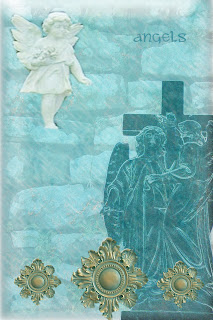
Most of the images in the collage
above are of Cardiff, just the milestone
and the lady were imported from elsewhere!
above are of Cardiff, just the milestone
and the lady were imported from elsewhere!
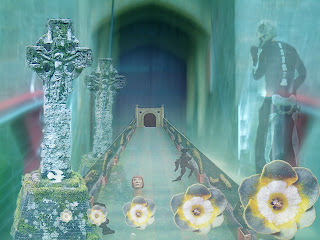
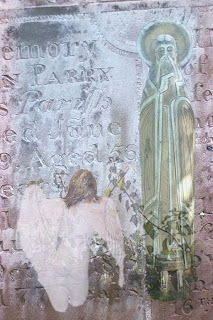
This one is more ghostly, and the images more
varied in terms of their original locations.
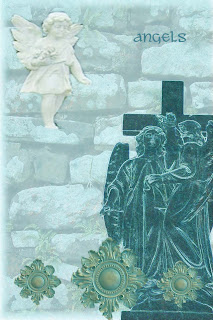
I am learning about layer opacity, colour changes,
and changing the size and position of images.
varied in terms of their original locations.
I am learning about layer opacity, colour changes,
and changing the size and position of images.
Saturday, 19 January 2008
More digital dabbles (edited 21 Jan)
I think I'm starting to enjoy this!!
The collage above has 8 layers,
all created from photographs
I have taken during the last 3 years.
Today (21 Jan) I have found out about textures
and have edited the above image to include
some rain in a semi transparent layer - it
just gives the piece more depth.
I also brought the 'buttons' at the bottom forward.
all created from photographs
I have taken during the last 3 years.
Today (21 Jan) I have found out about textures
and have edited the above image to include
some rain in a semi transparent layer - it
just gives the piece more depth.
I also brought the 'buttons' at the bottom forward.
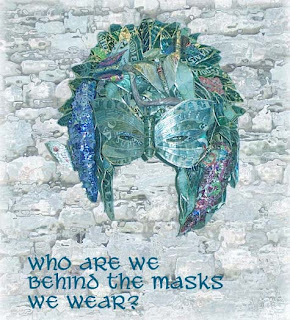
This one only has 5 layers,
again all from my own photographs,
but some of the photographs are of
other people's artwork
again all from my own photographs,
but some of the photographs are of
other people's artwork
I took the photograph of the
mask - made out of recycled drinks
cans (how clever) at an exhibition
a couple of years ago,
and changed the colours before
collaging it onto an old Cypriot wall!!!
Funny how the time just disappears
when you're playing digitally,
it's like digital work has it's own timewarp...
mask - made out of recycled drinks
cans (how clever) at an exhibition
a couple of years ago,
and changed the colours before
collaging it onto an old Cypriot wall!!!
Funny how the time just disappears
when you're playing digitally,
it's like digital work has it's own timewarp...
Digital dabbling
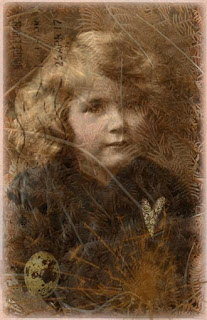
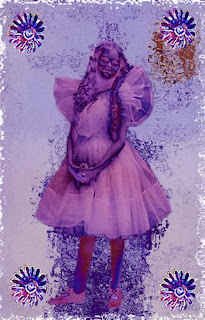
My New Year's Resolution was to learn a little more about Photoshop Elements. I have seen some of the amazing things Zeborah does and have wanted to learn how for a long time, but have not been able to motivate myself to spend the time do so. I have tried once or twice but got frustrated and gave up. So, I bought myself 2 books this week - Photoshop Elements 3 for Dummies, and Teach Yourself Visually Photoshop Elements 3.
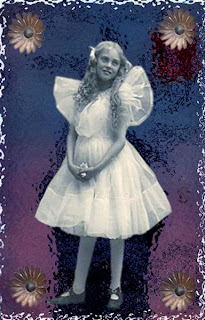
Today I sat down with the books and computer for an hour and created the digital collage above. It was very easy once I got started and began to understand how things work. The background is an old postcard that I have completely changed the colour from pale blue and pink to much darker colours and also given a texture to. The girl came from another image, all I did was sharpen her up a little, and the flower came from a photograph I took last year, and I have just altered the colour.
And then I adjusted some colours and textures for each element, and it became a different piece entirely (not that I particularly like this version, but it is an illustration of how different the same images can look with a few changes).
I know lots of you out there know how to do this, and can do much more complex and beautiful pieces than this one, but I am quite excited by my first digital collage!
Thursday, 17 January 2008
Charming
I am involved in a charm swap - I have never
made a charm before, and this is what I came up with.
These are washers from the hardware store,
painted with acrylic medium, then red acrylic ink.
I created some loops from fine
brass wire (off a rioja bottle!),
then added punched hearts,
and gave the charms a couple of layers
of Opals Franklin, which holds it all together,
seals it and gives it a nice shine!
Monday, 14 January 2008
Complementary colours swap
These 2 chaps are my
Complementary Colours men - for
a swap I am hostessing on CC Swaps yahoo group.
I had planned to use burnt orange & light turquoise,
but everybody else seemed to have the same idea,
so I thought I'd see if I could use red & green
without creating a Christmassy feel.
I think/hope I've managed it!
Complementary Colours men - for
a swap I am hostessing on CC Swaps yahoo group.
I had planned to use burnt orange & light turquoise,
but everybody else seemed to have the same idea,
so I thought I'd see if I could use red & green
without creating a Christmassy feel.
I think/hope I've managed it!
Sunday, 6 January 2008
Instant Art Swap
I'm hosting a swap on CCSwaps yahoo group - based on LesleyRiley's 'Instant Art' concept (see my earlier Art & Soul posts in October/November) that suggests that we should all have a stock of little handmade embellishements ready for when
we need them - and that these embellishments are easy to make in batches
and store in page protectors in a folder.
we need them - and that these embellishments are easy to make in batches
and store in page protectors in a folder.
The swap requires each participant to make
5 ATC backgrounds;
5 'little beauties' - embellished backgrounds measuring 1.5 inches by 2 inches - useful for adding to projects to finish them off;
5 decorated slide mounts - good for framing images on ATCs;
5 decorated tags;
and 5 printed images - printed in 2 sizes on white or light coloured cardstock.
Here are my ATC backgrounds, top left is a scanned and printed image of some tissue paper I crumpled up and painted with pearlised and interference paints and stamped butterflies on; bottom left is amaretti biscuit wrappers, stuck down and painted with gesso and a little buff paint; the middle one is black gesso daubed on quite thickly, stamped into while wet and rubbed with rub'n'buff once dry; top right is a piece of the paper that lined my spray box, and has an interesting selection of colorwashes on it; and bottom right is another piece of Citrasolv National Geographic page:
and my 'Little Beauties', 1st is a piece of textured alcohol inks background with some hearts added; 2nd is some alcohol ink and cling film background with a painted air dry clay heart; 3rd is cardstock inked with fluid chalk inks and a painted air dry clay 'button'; 4th is posh impressions metallic inks on glossy with a painted air dry clay fossil; 5th is glossy cardstock scribbled on with Lyra aquacolor crayons, dabbed with a waterbrush to get a 'pointillism' pattern, with 2 hearts added:
and my slide mounts - the first and last are made using pre-printed papers, the 3rd is an inked page from a dictionary, and the 2nd and 4th are pages from a National Geographic magazine which has been coated in Citrasolv and left for a day - the 4th has also been stamped and embossed with silver embossing powder:
Finally, my tags - 1st, 3rd & 5th are painted with white gesso and small amounts of titan buff, violet and cobalt teal acrylic paint, then stamped with a Crafty Individuals flourish stamp; 2nd & 4th are Citrasolv National geographic papers, 2nd stamped with Stampcamp and 4th stamped with a stamp my friend Jessie gave me and which I love and use a lot!!! Wish I knew who made it...
Thursday, 3 January 2008
New year - new art
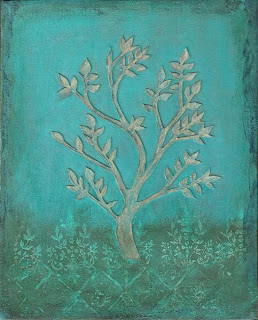
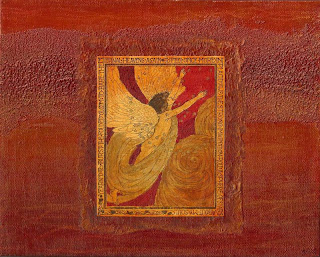
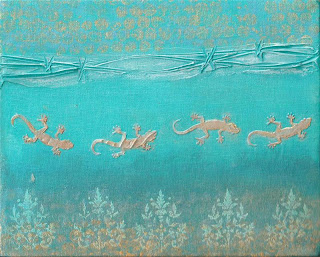
I have spent my spare time over the last few days painting canvases for the pay-it-forward gifts I promised at the end of November.
This is the first complete one, going to Fiona:
The second is below, on it's way to Tamisha
and third was giving me a real headache, but turned out to want a row of marching lizards.... no, I don't understand how my mind works, either!
I hope Kacy likes it, though!
This is the first complete one, going to Fiona:
The second is below, on it's way to Tamisha
and third was giving me a real headache, but turned out to want a row of marching lizards.... no, I don't understand how my mind works, either!
I hope Kacy likes it, though!
Subscribe to:
Posts (Atom)
Copyright
Please note that I assert myself as the creator of all art on this site (unless I credit another artist) and retain copyright of all artwork posted on this site