My last Altered Element DT pack included some Grungeboard. I've never used this stuff and was not quite sure how to work with it. I used a Cuttlebug heart die and folder to cut it and add texture. I coloured it with a colourwash spray, and once it was dry I added highlights with Treasure Gold. I painted a 4 x 4 canvas with several thin layers of fluid acrylic paints and overstamped with Stazon. I used fine brass wire to attach the button, ribbon and Grungeboard heart to the canvas, then sent it off to Fiona.
I completely forgot to sign it...
I absolutely love these Patera metal jewellery findings from Nunn Designs. They come in a range of shapes in gold, silver and copper, and best of all there is a punch which goes with them, and which punches collages, fabric paper etc to exactly the right size to glue into the pendants. I punched a piece of fabric paper, glued it to a piece of felt, and sewed tiny sequins and beads onto it before stamping and embossing it to add touches of gold. I used a stamp from my last Altered Element DT pack. A few dabs of glue later, and I had a unique piece of jewellery to send off to Hilda!
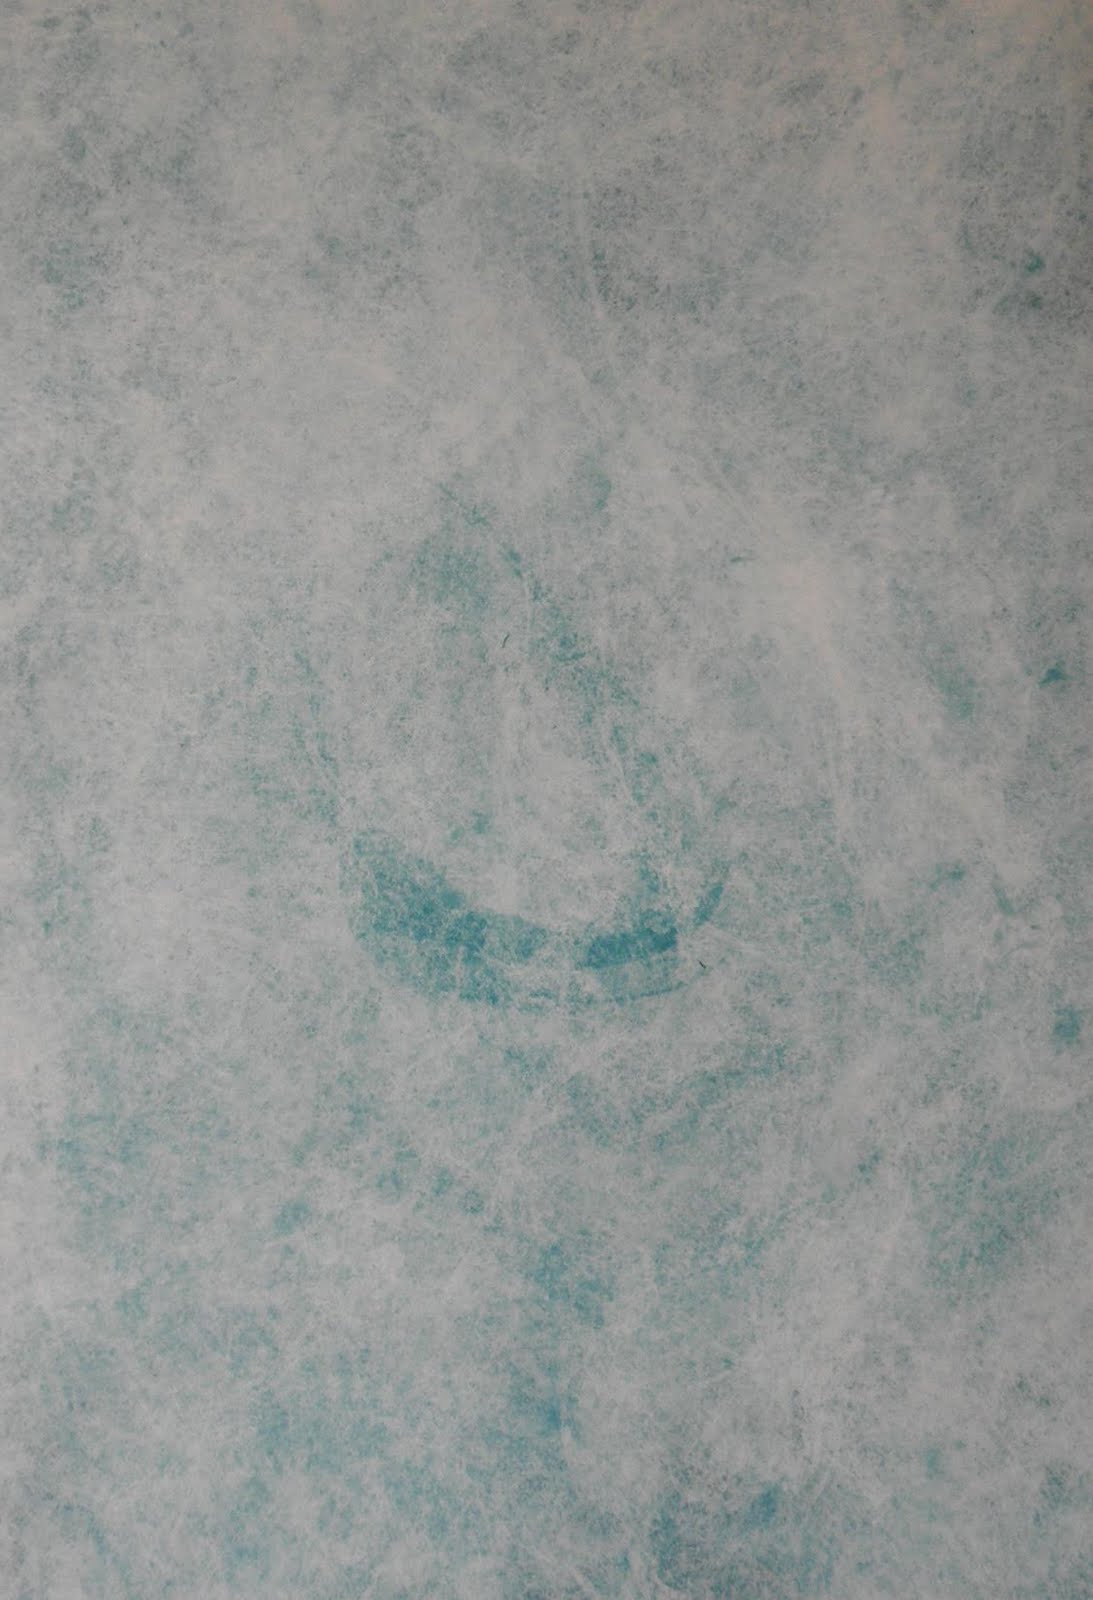
I thought I'd try another way of working with Tyvek, so I gave one side of this piece a thin layer of watered down fluid acrylics in Nickel Azo Gold, and Jenkins Green. Once the paint was dry, I cut the piece in half, and turned one piece over so that the painted side faced down. I covered the Tyvek with silicone baking paper, and used my iron to distort it. This is a process where you don't have much control, Kim Thittachai says the secret is to 'kiss and caress' the paper with the iron (definitely don't apply any weight or pressure, the iron should hardly touch the paper). The tyvek always distorts so that the 'creases' are nearest the iron, and the rounded 'valleys' are furthest away. If you click on the picture below to enlarge it, you can see that the piece on the left is the side where the unpainted side was nearest the heat of the iron, and the rounded areas are more prominent, whereas the piece on the right had the painted side nearest the heat and the creases are more prominent.
 My tyvek now had interesting texture and shape, but I wasn't sure what to do next. So, I cut one piece up, using the lines which had formed when the Tyvek was distorting. That gave me some interesting shapes. And then I had a moment of madness and decided to attempt an abstract embroidery piece!
 I used my embellishing machine to create a piece of wool and silk felted fabric to use as a background. I then laid one of the Tyvek pieces on top, and used some hand painted silky thread to attach the Tyvek using some irregular cross stitches. The Tyvek was surprisingly easy to stitch through.I finished the piece by adding some french knots to the background, and some beads tothe Tyvek, to give the piece more texture. You can see some of the detail in the pictures below.
 I think I'll use this as a book cover.
Tyvek is funny stuff - it is used in the building industry and in textile art. I remember the Guardian printing a newspaper supplement on it sometuime around 1990, anmd saying how it would be one of the materials of the future... but I never imagined I would be making art out of it!I coloured the tyvek with watered down acrylic paint, applied using a baby wipe. You only need a thin layer of paint, especially if you are going to heat the tyvek, as the paint acts as a resists to the heat - so, lots of paint=difficult to heat & distort. I coloured both sides of the tyvek, you can see the coarse 'fibres' take colour differently to the finer ones. Next, I cut the tyvek up and laid pieces onto deeply etched rubber stamps with bold designs, added a layer of silicone paper to protect my iron, and used the iron (on a cotton setting) to heat and shrink the tyvek. This process can be unpredictable - my iron wasn't hot enough the first time, so I was left with big patches of unmelted tyvek, and it was too hot the next time, so the tyvek disappeared! This is about right, when it melets soem away completely but doesn't leave you with unmelted areas. I need to fine tune it a little bit more as it is still melting more tyvek away than I'd like, whilst leaving patches unmelted.
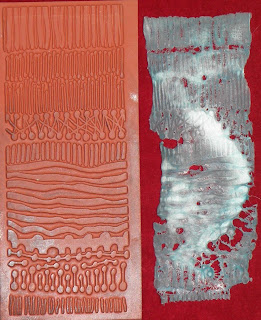
 Next, I tore the melted tyvek into smaller pieces, and added them to a mask (protected the mask form with greased aluminium foil) covered in Perfect Paper whilst it was still wet. The perfect paper dried and the tyvek is inlaid into it. I think I may add colour to the paper parts, and Treasure Gold to add glints afterwartds. I may even post a pic when it's finished!
Copyright
Please note that I assert myself as the creator of all art on this site (unless I credit another artist) and retain copyright of all artwork posted on this site