Showing posts with label friendly plastic. Show all posts

Monday, 11 February 2013

Doors ATCs

The theme for my monthly ATC swap was "doors and what's behind them."

Here is the front of the ATC I created:


The front of the ATC, the door itself, is made from scraps and odds and ends of sticks of friendly plastic.  I just cut all my scraps into smallish pieces and laid them all out onto a craft sheet, as close together as I could get them. I took another craft sheet and laid it on top, and ironed them until they melted together into a an A4 sheet approximately half the thickness of a friendly plastic stick .  I guess you could use a skillet for this if you have one, but your sheet would be thicker.  There were small gaps, so I added some more pieces of friendy plastic and ironed again. 

I then used a Spellbinders ATC die and my Wizard to cut ATCs form the sheet of friendly plastic. I rubbed the ATCs all over with olive bronze Treasure Gold, to hide most of the mixture of colours of friendly plastic. Each ATC was then laid onto the craft sheet, heated with a heat gun, and stamped into with the diamond patterned stamp (Invoke Arts).  I allowed the friendly plastic to completely cool before removing the stamp, and added more olive bronze Treasure Gold to give good coverage, then used renaissance gold Treasure Gold to highlight some of the raised areas. I punched a hole, then added a bead cap and brad to make the door handle.

Here is the what's behind the door:


The door is hinged with organza - the friendly plastic was carefully heated down one side and the organza was pressed into the warm plastic.  I then cut pieces of very thin wood sheet (maybe this is marquetry veneer?) to size, inked them to age them, and stamped them using the same stamp as the front of the door, before sticking them to the friendly plastic with red liner tape. The other part of the organza hinge was trapped between two layers of card stuck together with red liner tape.

The backgrounds of the inside were created using the layered paint technique as detailed in a previous blog post.


I cut this background into ATC sized pieces, stamped the words onto some paper from a very old book and glued them onto the background with gel medium.

Why 'Pieces of History'? Well, all the elements of the ATC are pieces of my history.  The friendly plastic was all left over from other projects.  The layered paint technique was learnt at Art & Soul during a fantastic trip to the USA back in 2007, which is part of my history.  It was painted onto a base of cardboard bpxes which used to contain one of my favourite smoothie ice lollies, and the book pages used for the words are from an old book which I have had for a long time, again part of my history.

Sunday, 29 July 2012

Alphabetica postcards

I've been organising a running Alphabetica postcard swap since January.  Here are some of the postcards I've made for the  first 10 letters of the swap.  Forgot to take pictures of all the postcards :-(

A for Art combined a gesso and Quink background with a friendly plastic embellishment and some scraps left over from another project. 'Art' is stamped and heat embossed.

I

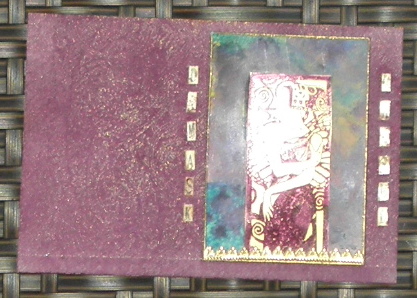
A for Abstract is another gesso and Quink background, with another friendly plastic embellishment, and painted 'A' and some stick on letters.


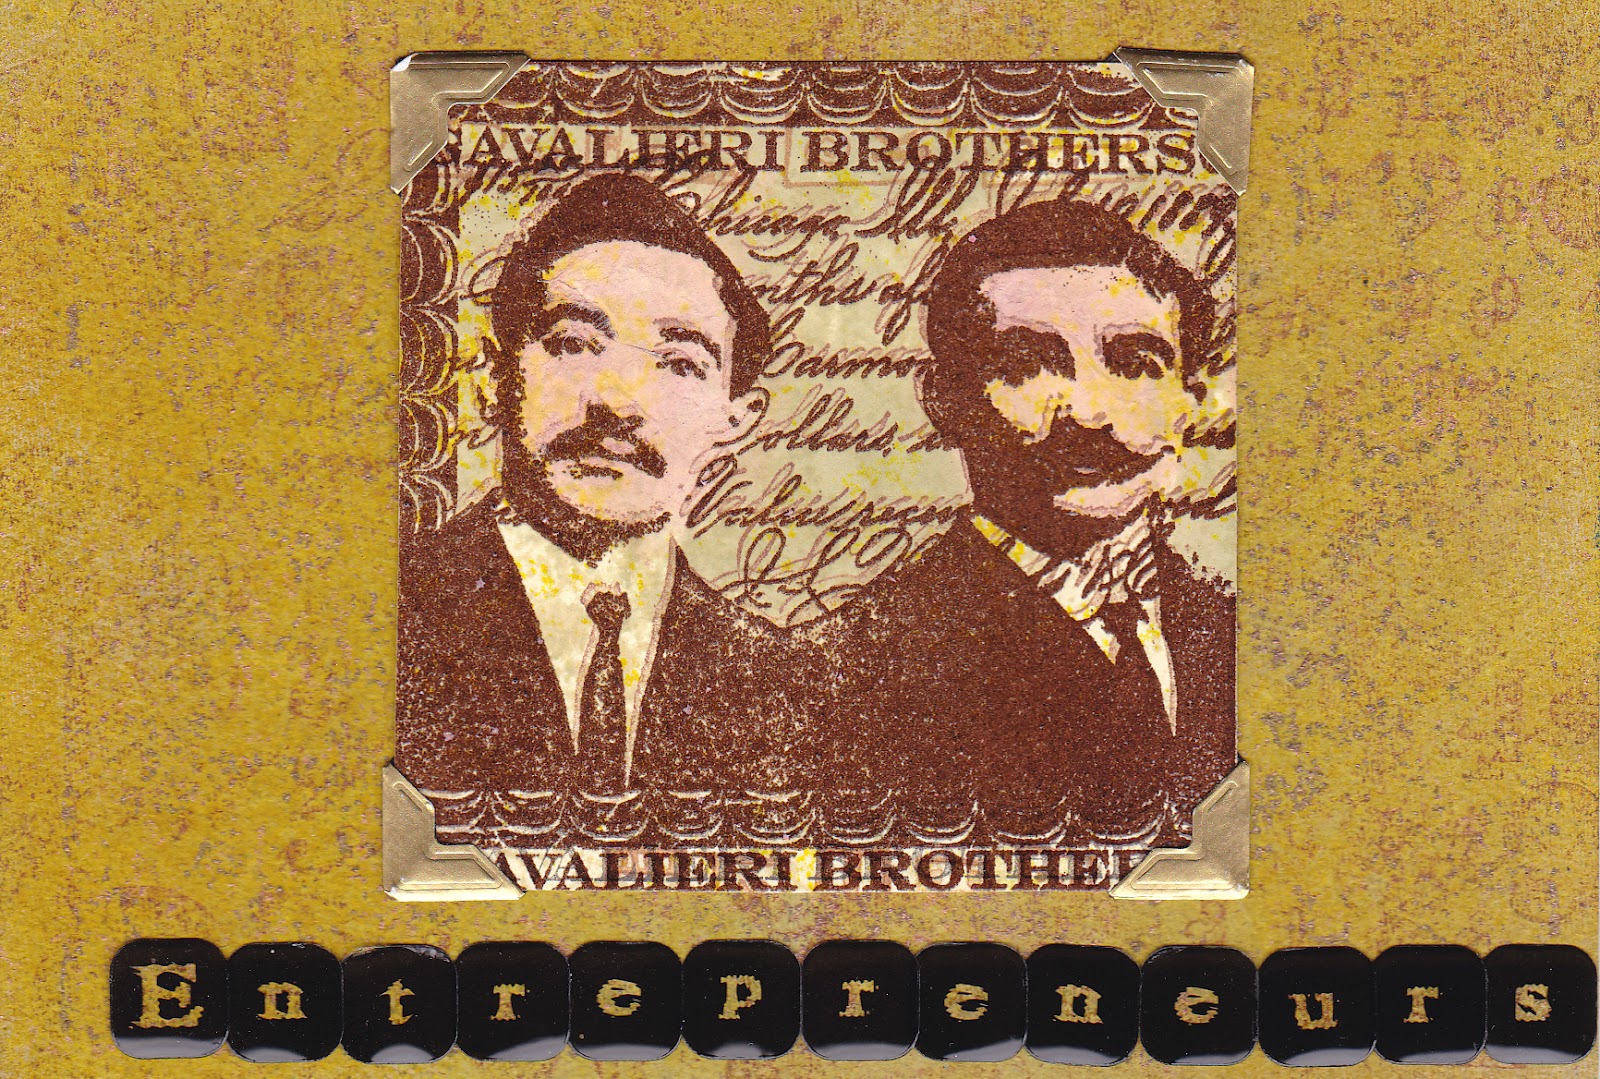
E for Entrepreneurs - the Cavalieri Brothers - love this stamp.  Background is grungepaper - hate this stuff - with colourwash sprays and stamped texture.


E for eclectic, eccentric Esmerelda.  More grungepaper, with stamping, a painted letter and stick on letters.


F for Fish. A painted and stamped background, and my favourite oriental Koi stamp in gold.


F for Fossil.  Painted and sprayed backgrounds, stamped Fred Mullet fossil fish.


D for Damsel - grungepaper again, with an alcohol ink background for the Enchanted Ink image, which was stamped onto acetate with purple Stazon and backed with gold.


D for Dragonfly - more grungepaper, stamped with a Stampers Anonymous dragonfly, with an added dragonfly embellishment made of polymer clay coated with PearlEx.


I for Ice - pearlescent background and stamped letters coated with several layers of clear embossing powder with a little glitter mixed in, bent to crack it, and a few pearlescent snowflakes for good measure.


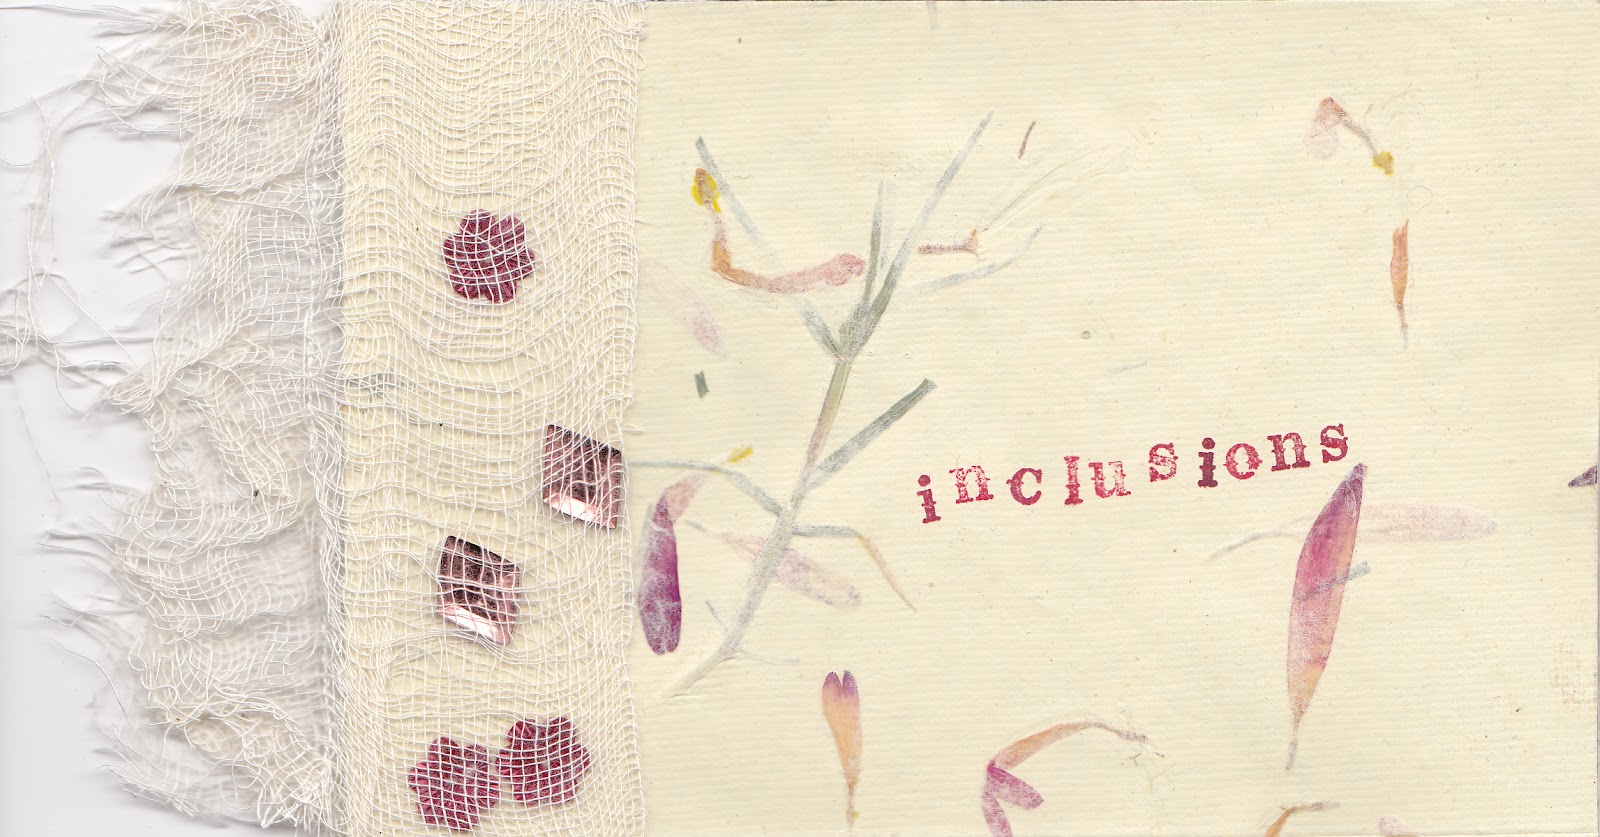
I for Inclusions - handmade paper with flower and leaf inclusions, and a variety of inclusions trapped behind gauze.


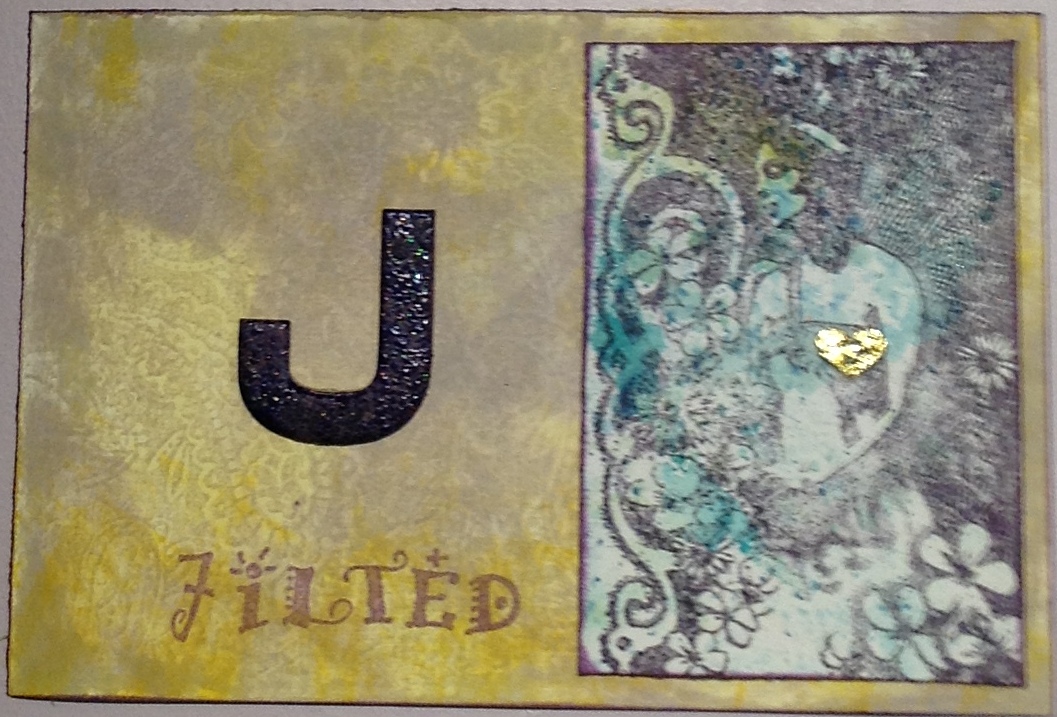
J for Jilted - Distress inks background, with a painted letter, stamped word, and stamped Crafty Individuals image.


J for Joined.  Embossed cardstock with a thin coat of Brilliance ink, layered with gold vellum and a stamped image, with added golden hearts.


Sunday, 9 October 2011

Blue & Green ATCs

Made these thee blue & green ATCs for an upcoming swap.

The background is dyed scrim, glued to cardstock. For the first one, I added some dyed silk scrim down the left hand side, and sewed some sequins and beads to it. I stamped a piece of green painted watercolour paper with Versamark and embossed with Moonlight Obsidian Teal embossing powder. The stamp is 'wild asparagus' by My Mind's Eye.


The second ATC uses the same background, with some large domed sequins and beads down the left hand side, and an embellishment made from a piece of Friendly Plastic. I ironed the Friendly Plastic between two pieces of silicone baking paper until it was thin, allowed it to cool, peeled the paper off, heated it with a heat gun, then stamped into it with a Stamper's anonymous stamp. I edged it with gilding wax, then sewed through it into the card using 4 tiny sequins and some tiny beads.


The final ATC has the same background with sequins and beads sewn down the left hand side, and the image (Invoke Arts) is stamped into some mixed green and blue Angelina Fibres.


Monday, 6 September 2010

Paverpol - Altered Element design team


Altered Element sent me some Paverpol fabric stiffener, some Paverplast, and some 'fabric' for use with Paverpol which is made from beaten tree bark (looks a bit like a very large piece of flattened silk rod!). These materials are all way out of my comfort zone, and I wasn't sure what the heck to do with them!

I surfed the net to see what other people had done with Paverpol, and it was interesting to see, but not 'me'. So I had a little play, and here are the results of my experiments.

I wanted to see if Paverpol could stiffen fabric yet maintain transparency. And the answer is - sort of! I covered a glass bowl with cling film, then draped organza over the top. I cut some excess organza away, then applied the Paverpol fabric stiffener with a paintbrush, and left to dry. Once dry, I trimmed the 'brim' into a flower shape. This is the result:


It's sort of pretty, but a bit flimsy. I had planned to add some hand embroidery - maybe some french knots or lines of stitch form top to bottom, but it is too flimsy for that. I may yet add some curved lines of Friendly Plastic all around the outside of bowl sides, to make a sort of supporting framework, and perhaps do some gold stitching afterwards. If I can find time and my mojo at the same time!

My second experiment with Paverpol was to use it to stiffen and adhere fabric to a metal tin - every other glue I have tried has left bubbles or marks, so I was very pleased to see that the Paverpol left a flawless surface. This was very easy to do - just cut a straight edge at the bottom of your fabric, add Paverpol to the tin itself and start wrapping your fabric around the tin, coating with Paverpol as you go. I then took some thin strips of gold Friendly Plastic, heated them in a puddle of water in my melt pot, and squiggled them around onto the tin. The Friendly Plastic adheres to the fabric really easily - which can be both blessing and problem LOL.

I love the fabric I used - I've been hoarding it for ages!


I finished it off by adding 3 turquoise Friendly Plastic 'flowers', made by laying a strip of FP on a non stick sheet, heating with a heat gun, using a cutter to cut the shape, and allowing to cool completely before removing the shape. I laid the flowers on top of the gold squiggles, heated it all with my heat gun and used an embossing tool to make a centre and some depressions in the petals. I rather like this!


I will try to play with the Paverplast soon but that may be more of a challenge...


Saturday, 1 May 2010

Friendly Plastic supplies

Somebody posted a question on my blog 'Guest Book', asking where I get my Friendly Plastic from.

There are 3 reliable places in the UK who carry a wide range of colours and enough stock not to disappoint:

Altered Element - who also sell all manner of other fabulous goodies - http://www.alteredelement.co.uk/epages/es108190.sf/en_GB/?ObjectPath=/Shops/es108190_es119921283844/Categories/Friendly_Plastic

Liz Welch - who also does FP classes - http://www.rarebird.ltd.uk/FPshop.html

and

The Frame Workshop - http://www.theframeworkshop.co.uk/friendly-plastic

and I have never had a 'snapper' or faulty stick from any of them! Snappers are no good to work with. Always check your FP sticks before using them by bending them so that the ends touch - if they do this without snapping they are fine to use. If they snap, you may as well just put them in the bin, as they won't behave themselves when you're trying to work with them!

The 'snappers' are just born that way - it's not an age thing. Apparently the product was originally developed for a non-craft purpose and was not intended to be melted and re-melted, and if the formula is just a tiny bit different the sticks are crumblier and snap rather than being very flexible.

Sunday, 31 January 2010

Friendly plastic butterfly

I made a friendly plastic butterfly for the Amaco butterfly competition - all the entries will go to the holocaust museum, each to represent a child who died. I had decided not to enter the competition, as I was very busy at the time, plus international postage is expensive. But somebody from Amaco emailed me and asked if I would submit an entry, which was flattering...

I made this in a bit of a hurry, and it's not as good as I would have liked, but I didn't have time to re-do it, so off it went! It was on display on the Amaco stand at CHA 2010!


The butterfly is about 4 inches across, and I used a colouring technique I learnt from Liz Welch - doodled alcohol ink. I didn't have time to take step by step pics when I was making the butterfly, but have included some from an earlier project (below) so that you can see how easy it is to do. To make the butterfly, I used 2 wing shapes cut from doodled sticks and a body made from a piece cut from a
fuschia stick. I joined them all together by dipping the edges into hot water for a few moments then pressing them together and holding in position for a few moments. The antennae were made from copper wire.


To make doodled alcohol ink Friendly Plastic, take a stick of gold Friendly Plastic and drip some alcohol ink on it. The newer bright colours are good for this technique. You can blow the ink around using a straw if you like.

Keep adding aclohol ink. If you're blowing it with a straw, you will find that the ink you're blowing comes to a sudden stop when it touches dry ink. So, eventually you will have to drip or dab the ink into the gaps.

This is what the finished piece looks like, along with the inks I used.

Now take a white Sakura souffle pen, and draw around the blobs using wriggly lines, then infill with doodles, until the piece is doodled all over.


Easy to do, and looks very effective. Liz uses it to make beautiful pendants, by cutting it to shape and size and laying it into bezels, then covering with layers of resin and trapping doodles or tiny embellishments between the layers.

Monday, 28 December 2009

Green & gold Friendly Plastic mask

My step daughter asked me if I could make a mask similar to the one I had made for my daughter:


but in greens.

A mask takes between 3 and 4 sticks of Friendly Plastic, so I checked my stash and found 2 iridescent green sticks and 2 gold. I cut one of the gold sticks in half and then cut each half lengthwise into 7 strips. I did the same with one of the green strips.


I have a paper mache mask form, which I covered in aluminium foil, so that the Friendly Plastic wouldn't stick to it.


I then set my melting pot to 140 degrees and filled it with water. I dropped a gold strip into the water, coloured side down, and after about 10 seconds I fished it out (using a wooden handled pointy tool), and laid it onto the mask form. I repeated with all my gold strips, until I had my mask base. I pressed the pointy tool into each joint as I worked, the joints are what holds the mask together and I wanted them to be as strong as possible.


I topped up the water, and repeated the process using the green strips, overlapping and joining onto the gold strips as I went.


Next, I put a green strip onto a piece of non stick craft sheet and heated it with my craft gun until soft. I pushed a cutter into the Friendly Plastic then dropped the craft sheet, plastic and cutter into a bowl of cold water. After 10 seconds I took it all out, removed the cutter, peeled the plastic off the craft sheet and used sharp scissors to separate the shape I had cut out from the plastic. I repeated with the green and gold until I had 6-8 shapes of each colour.


I heated the centre of the mask with my heat gun, just enough to make it tacky, then laid a shape at top centre, and continued heating until I could see the shape was soft. I pushed into the shape with the end of the pointy tool - this gave a 'crease' down the 'petal' and also pushed the shape firmly into the layer below, making a strong joint.

I repeated with more heat and more shapes until the mask was finished. You need to be careful not to apply too much heat at once, or the mask will melt so much that it loses definition and oozes off the foil...


Once happy with the mask, I left it to cool on the mask form for an hour or so, then just popped it off.


All it needs now is elastic!

Thursday, 19 November 2009

Friendly plastic mask


My daughter is going to a masquerade ball next week. She was going to go shopping for a burgundy and gold mask, to go with her dress. I said I was sure I could make something unique for her instead, and this is what I came up with:


I took a blank mask and covered it in tin foil. I cut thin strips from a gold FP stick, and softened them in water, then used a pointed tool to lift them out of the water and lay them randomly onto the tin foil covered mask. I bent them so that each strip changed direction a couple of times, and made sure they crossed over and joined onto other strips. Once I had a reasonable base, I started cutting strips off an indian red strip, and added those to fill some of the gaps and add strength. When I was happy with this base, I heated it with a heat gun to make sure all the joints melted together. I then took some short red strips and warmed them in the water, and added them to the mask, folded in half, so that both ends were joined to the top edge.

I laid a gold strip onto a small piece of non stick craftsheet and melted it with a heat gun, then used a 4 petal cutter to cut a 'flower'. I dropped the FP and craft sheet into a bowl of water to cool, then made lots more petal shapes in gold and indian red.

I dropped the 'flowers' into the hot water to soften them, then attached them to the mask, trying to spread them evenly over the 'ribbon' framework, and ensure a balanced mixture of gold and red. It's quite sturdy, but nicely lightweight. And my daughter can be certain that her mask is unique!!!!

Tuesday, 6 October 2009

Friendly plastic play

Carol and I have been playing with Friendly Plastic today. One thing we did was make some decorated Friendly Plastic strips.

Take a pale coloured strip of FP - white, mother of pearl, pale gold. Drip alcohol inks onto it - the brights work well. Move the inks around with some kind of tool - I used the end of a fine straw. I dripped more ink on and blew some of it around.


The colours I used were POOL, CLOVER, and PURPLE TWILIGHT. The finished strip looks pretty just covered in the inks.


If you want to go a step further, take a Sakura Souffle pen, and doodle all over the inked strip.
You can now use the decorated strip in your projects.


We also made some beads out of scrap FP - some of the pieces we had managed to turn into grey mush during earlier failed experiments! Drop the bits into the warm water (60-70 degrees C or 140-160 degrees F) for a few moments until they soften. Lift out, and roll together between the palms of your hands. Voila, a very quick and easy bead.


Drop the bead into the cold water bath, and after 30 seconds or so, pierce it with a needle tool to make the hole through the middle (you can also drill the beads once they are fully cold if you prefer).


Give the bead a quick blast of a heat gun, just until the surface turns shiny, then roll it in a box of foil flakes.


Lift the bead out of the flakes, leave for a while, then gently rub the loose flakes off. Enjoy using your glitzy metallic bead. You could seal it if you like.


You can use the same decorative technique, but rolling the bead in PearlEx instead of foil flakes - gives a completely different but equally yummy effect!

Tuesday, 4 August 2009

Friendly Plastic wall art


I signed up for a Friendly Plastic swap on CCSwaps. I decided to create a piece of wall art, so began with a 6 inch square stretched canvas. I drew some curvy lines in pencil, and painted dots of Xpandaprint between the lines (see left of pic below) then heated it with my heat gun to make it bubble up. I painted fine garnet gel around the Xpandaprint, and between the lines (see right of picture below).


Next, I painted the areas between the fine garnet gel and the canvas edges with coarse garnet gel.


I used a palette knife to add some gold mica flakes to the inner edges of the curvy lines.


When the garnet gels and mica flakes had dried, I filled the space between with clear granular gel (below).


I add some clear tar gel to the edges of some areas, then painted the fine garnet gel with Golden iridescent bronze fluid acrylic, and the coarse garnet gel with Golden fine iridescent gold. These colours will not show in the final piece, but they will add a sort of glow to the final colour.


Once the clear granular gel was dry, I added more dribbles of clear tar gel, and when that dried, I painted the whole piece with watered down Golden raw umber fluid acrylic paint. I then took some of the paint off with a damp paintbrush.


Once the canvas was dry, I added some aqua Treasure Gold to the clear tar gel and the central texture panel. It is a little brighter than the picture below shows, there is more contrast between the aqua and the background colour.


Finally, I dusted a Krafty Lady lizard mould with PearlEx, and made a lizards by melting gold coloured Friendly Plastic pieces into the mould. I pressed the melted plastic into the mould firmly with wet fingers (don't try it with dry fingers, it will stick to you and burn!) and kept wetting my fingers and pressing the plastic into the mould until I was happy that all the detail would be visible on the moulded piece. I dropped the mould and Friendly Plastic into the water, left it for a few moments, then unmoulded it under the water. I made a second lizard and toned the colour of the lizards down a little with aqua Treasure Gold.

Finally, I adhered the lizards to the canvas with gel medium. I hope Trish likes it!

Guestbook

Copyright

Please note that I assert myself as the creator of all art on this site (unless I credit another artist) and retain copyright of all artwork posted on this site