Showing posts with label Embellisher. Show all posts

Thursday, 28 March 2013

Heart felt

Shh, don't want to frighten her off by saying it too loudly, but I think my mojo has returned from her holidays...

Here is a wall hanging, made for a swap on the theme of 'heart-felt' - it had to include a heart made from felt. This is all needlefelted, some by hand, most by embellisher machine, with a little hand beading to finish it off.


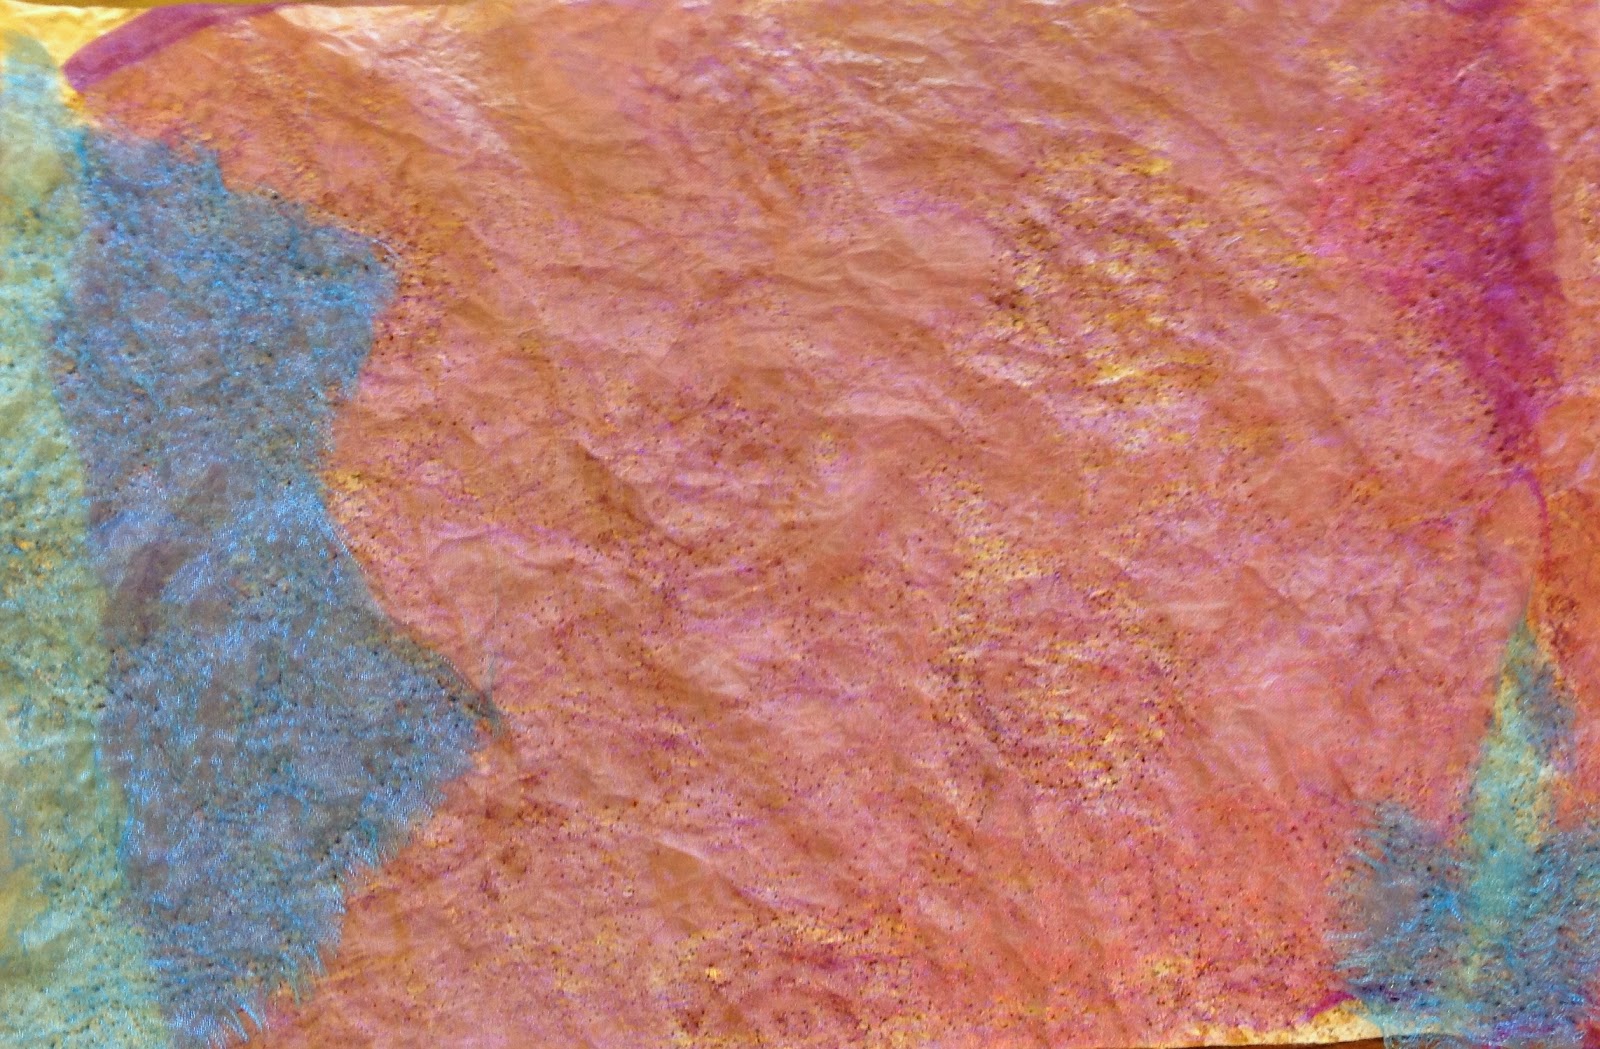
Firstly, I embellished two layers of organza together, all over but just enough to hold them together.  One layer was a light shimmery blue, the other was a bluey green shot with a yellowy greeny gold.

I'm not sure you can see the difference in colour, but this picture has the blue side uppermost:


 This picture has the bluey green side uppermost. I like this side better, so this is the top.


I used two colours of merino wool rovings, this colour matches the background colour. I spread it out on my base, and embellished it in.


The colour of the other roving is a much brighter turquoisey blue. I am blending more of the blue into the green with each layer.


Added some more blended rovings.


I decided I had enough general texture, and needed something to take my eye around the piece.  I twisted some of the blue rovings together and embellished them onto the piece in a curvy line.


I added some silk tops to bring in some more colour and a shiny texture.  These are hand dyed by Oliver Twists. I love their stuff. It's probably a good thing they don't have a website, because I *only* spend about £50 a year on their goodies at shows.  If they had a website, I'm sure it would run into hundreds....


You might have noticed that the theme of this piece is 'heartfelt' and there's no heart?  I have not yet mastered the embellishing machine to a high enough level to create shapes, so I got the hand needle felting equipment out. I laid a thin layer of red rovings vertically, another horizontally, and the top layer was vertical again. I put a heart shaped cutter on top, and needled the layers together. It's quite therapeutic, you can relieve tension by imagining you're stabbing voodoo dolls while you're being creative!


I wasn't intending to finish the heart by hand, just to needle it enough so that I could lift it off the brush in one piece. I used a dull red, a brighter red, and then added some more silk rovings down the centre  for a bit of shine and a different texture.


Next, I embellished it onto the background, layering some gold 'angelina' I bought about 10 years ago, when I didn't realise you could buy angelina that didn't fuse together. I knew it would come in handy one day! It just adds  little subtle glitz.


 Just a bit more glitz needed, so I put the piece in an embroidery frame and beaded around the heart, and also onto the curvy line. 


All it needed to finish was to be mounted on gold mirror card, with a mountboard backing for stability. I added a little fine brass wire hanging loop, and put it into the jiffy bag to mail before I could change my mind and keep it....

Hope my partner likes it.

Tuesday, 25 December 2012

12 days of Christmas presents

Each year on the UK Art Swaps group, we run a '12 Days of Christmas' swap, where each player makes 12 small gifts, wraps and sends them to 'Mother Santa', who swaps them out and sends a set of 12 gifts to each player.

Some of us start opening one present a day from 12th December onwards, some wait until Xmas Day to open them all, and some probably open them all the moment the package arrives!

The hardest part of the swap is deciding what to make.  It needs to be reasonably small, and light, so that the postage doesn't cost too much. The cost of making the gifts is also a factor because when you're making 12 of something the costs can mount up quite quickly.

This year I decided to make some brooches.  I used some recycled wool fabric for the base, and needlefelted wool rovings onto both sides, to make a fairly sturdy felted fabric. 

I cut leaf shapes from this felt base, and machine sewed velvet leaf shapes onto them.  I used variegated Perle thread in my bottom bobbin to sew round the edges of the velvet, and the leaf 'veins'.

I sewed around each brooch a few times using metallic thread, so that each brooch has a subtle hint of glimmer.

To finish the brooches off, I got out my needles and thread and hand sewed french knots and beads to the fronts, and brooch backs to the backs.

I hope the recipients like them!


A closer view.


Tuesday, 27 November 2012

Fabric ATCs

I made these for the small international ATC swaps group I belong to.  

September's theme was 'woven', and this is my interpretation.

I used Ranger Adirondack color wash sprays to dye pelmet vilene, before cutting it up and weaving it together. I hand embroidered a 'darned/woven' area, and added small pieces of pelmet vilene with the words stamped on them.  To finish, I cut two circles of card and used a brad to attach them.


October's theme was 'fabric & fibres' and this is my interpretation.

I needlefelted scrim to a wool fabric base, then needlefelted some wool rovings to the back to bring subtle colour through to the front. I couched down some knitting yarn with Perle thread, and added a line of stitches in fine gold metallic thread.  I used toning and contrasting threads for the french knots and seed stitches, before  finishing the ATCs by backing them onto pelmet vilene with machine zigzag.


Saturday, 10 November 2012

Another great Celyn Textiles class


I have really enjoyed myself yesterday evening and all day today, learning how to dye fabric, transfer designs onto fabric panels, use perle thread in the bottom of my sewing machine, and sew organza onto wood.  And one day I may even finish my wall hanging!

The class, taught by Sheila, was called 'Twisted', and this is the sample Sheila brought to show us.  The corduroy fabric used for the base, and the scrim embellished to it were hand dyed using procion dyes.


We soaked our fabrics in a mixture of water, baking soda and ash, wrung them dry, then squirted the fabric with various colours of dye (made from procion dye powder mixed with urea).  The fabrics dried overnight, and then we started working on them.  The image below is the back of my panel, and I drew the design for my panel on the back with an ordinary rollerball pen.  I forgot that the design would come out like a mirror image on the front, I wish I'd remembered to reverse it when I drew it!


We then cut the dyed gauze/scrim into pieces, made holes in it, distorted it and generally made it shabby before using the embellishing machine to adhere it to the corduroy.


Once the scrim was in place, we 'drew' our designs with machine stitching.


The next step will be to fill in all the motifs with machine embroidery, but I had forgotten to take my free motion embroidery foot with me so I had to skip that step!

Sheila had the fantastic idea of using florist 'canes' (balsa wood?) as a 'frame' for leaves and shapes made from organza.  


I had a great time in the class, and hope to finish this panel - I'll post a pic when I do.  Meanwhile, the other class members were generous enough to let me take pictures of their half finished pieces to share here, so you can see the variety of pieces which will spring from this class. Don't forget that you can enlarge an image by clicking on it.

Lovely birdie, beautiful colours....


Fabulous colour contrast...


Autumnal rusty shades and beautifully embroidered flowers....


A fishy business...


Variegated threads....


And fabulous free motion work with gold thread.....


Great class with a great bunch of women - and I'm looking forward to the next class in January!

Saturday, 27 October 2012

Embellisher machine experiements


About 3 years ago, a friend sent me an email to tell me there was an embellisher machine on EBay at £68 with no bids.  It was collect only, and only about 8 miles away from my office.  So I put the one and only bid  in and won the machine.  

Since buying the machine I have dabbled several times, and have made some lovely scarfettes using silk rovings embellished onto chiffon scarves, as well as a few ATCs and postcards.  But, I know I have never really explored the potential of the embellisher properly, so when I saw that Celyn Textiles was offering a reasonably priced day course near my new home, I signed up.  We explored lots of techniques, and I came home with more than a dozen samples.  

Here are some of the samples I made.


Embellished organza.  


Fancy yarn embellished onto felt.


Moving away from just fibres and fabric, you can incorporate paper into embellished pieces.  Sheila, our teacher, had a lovely piece where she had laid handmade mulberry paper onto felt, and then layered scrim, lace, fabrics and fibres on top before hand embroidering.  It was lovely, and the paper showed through holes in the scrim.

The piece below is embellished brown paper and organza.


To finish this piece off, you could machine embroider over the top, and zig zag round the edges - it would make a lovely book cover.

The next sample is a base for hand embroidery. Embellish scrim and wool rovings onto a velvet base. One day, I will add more rovings to front and back, and add hand stitching.  The colours of this piece are much nicer than my computer screen shows, and I think it will make a great wall hanging.


One simple technique is to just embellish organza onto fabric, then weave the fabric and embellish it together.  I've used two colours so that you can see clearly how it works. You could get a lot more creative in the ways you combined the fabrics than plain weaving - you could explore 'log cabin' patchwork style assembly, or plaiting, twisting, slashing and threading through.


A really simple idea, which gives a really sophisticated finish, is to embellish denim.  Velvet looks nice from the back, too - all the little bits poked through give a lovely texture.


 If you get chance to take a class with Sheila, it's well worth it - and she provides endless tea, coffee and cake into the bargain.  One of today's class had come all the way from Oxfordshire - her husband had driven and he went walking in the Black Mountains for the day whole she played with her Embellisher - which resulted in two happy tired people by the end of the day!


Saturday, 9 July 2011

Hanging ATCs

I had a moment of inspiration and made these ATCs, incorporated into a hanging device.


The ATCs were made using an embellisher machine and silk rovings embellished onto felt. I then cut some circles and leaf shapes out of silk fabric and embellished them onto the backgrounds. I added simple hand embroidery stitches - just fly stitch, backstitch and french knots - to add texture to the silk 'flower's and' leaves'.


I used some of the silk rovings to make 2 felt strips to hang the ATCs, and then embellished organza circles onto a piece of organza to add texture and tie in with the embellished circles on the ATCs. I embellished the ATCs onto the organza hanging background.

Sunday, 26 June 2011

Felted & embroidered ATCs

I know. You'll be shocked. I've made some art and am posting it to my blog. I have actually made more art recently but haven't found the oomph to upload it. I made these this morning and was so pleased that I thought I'd share.


These were made by using the embellishing machine to felt all sorts of bits and bobs of silk, organza, fibres, rovings, bits of silk rods and more to a base of emerald green felt. Once felted, I added the odd hand embroidered stitch, some sequins and a couple of organza 'flowers'.

Needless to say, they look much better in real life - really vivid colours.

Sunday, 20 June 2010

Needle felting

A couple of weeks ago, two friends of mine pointed me in the direction of a brand new Merrylock Embellishing machine on EBay. I was very fortunate to win the machine for £62.99 and I collected it 10 days ago. I didn't find the time to start playing with it until Thursday, and I finished my first project today.

I have seen a number of felted projects which have been beautifully done, but using gross (in my opinion!) colours. I thought I'd make something subtle. I took a base of acrylic felt, and felted some grey-black wool to it. Once I'd covered the felt and made a nice base, I took some more yarn and wound it into spirals, and felted those to the base. I added some simple fly stitching in a shiny crimped yearn, and some french knots in a hand dyed grey & pink perle cotton, and I *think* it's finished.


I'm not sure though - part to me feels there should be a focal point, but I'm not sure what it could be, or where to put it. I'll look at it over the next few days and see if anything suggests itself...

Guestbook

Copyright

Please note that I assert myself as the creator of all art on this site (unless I credit another artist) and retain copyright of all artwork posted on this site